Can I Design My Own Garden Kdagardenation? 9 Easy Steps
Quick answer: Yes, you can design your own garden. You do not need a degree, fancy software, or a big budget. You need a measured sketch of your space, a clear idea of how you want to use it, and plants that fit your sun, soil, and climate. Each step below is explained in short, simple words.
Many people think garden design is only for experts. It is not. Pros make it look easy because they follow a simple process. Once you know that process, you can follow it too.
In this post, you will find:
- What to gather before you start
- A 9-step plan to design your own garden
- Common mistakes that waste money
- Free tools that make planning easier
- When it makes sense to hire a pro
Can I Design My Own Garden Without Experience?
You can. Millions of homeowners do it every year. A garden is not a test with one right answer. It is a living space that grows and changes, so small mistakes are normal and easy to fix.
This might surprise you. Many professional garden designers say that planning their own garden is the hardest job they do. They want to use every plant and every idea. The lesson for you is simple: start small and keep your plan focused.
If you can draw a basic map, measure a yard with a tape, and say what you want to do outside, you already have the skills you need.
What You Need Before You Start
Gather these simple items first:
- A tape measure (a long one, 50 feet or more, is best)
- Graph paper and a pencil, or a free design app
- A notebook for ideas
- Your phone for photos
- A garden hose or rope (you will use it to test shapes)
That is all. You do not need to buy any plants yet.
How to Design My Own Garden in 9 Simple Steps
Step 1: Walk Around and Take Notes
Before you draw anything, spend time in your yard. Walk it in the morning and again in the evening. Ask yourself:
- Where do I like to sit?
- What views do I want to keep?
- What views do I want to hide, like a fence, a bin, or a busy road?
- Where does water collect after rain?
- What already grows well here?
Take photos from your back door and from the windows you look out of most. These photos will help you later.
Step 2: Decide What the Garden Is For
A good garden starts with a purpose. Pick your top two or three goals. You might want:
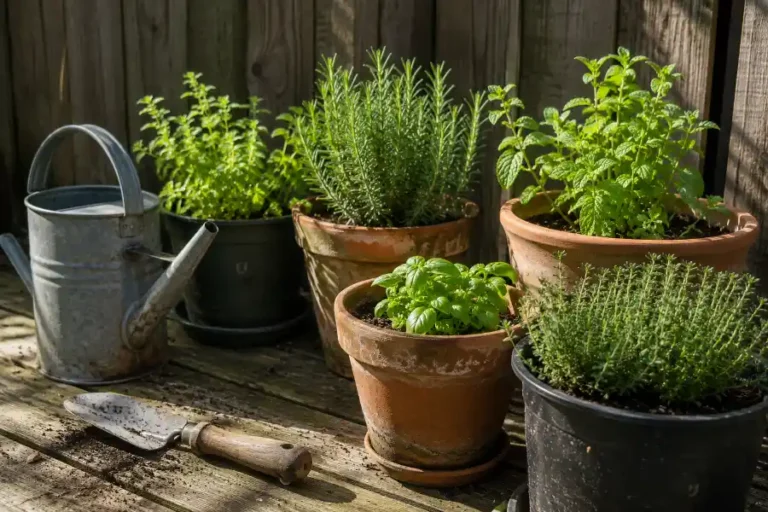
- A place to grow vegetables and herbs
- A safe play area for kids or pets
- Flowers that bring in bees and butterflies
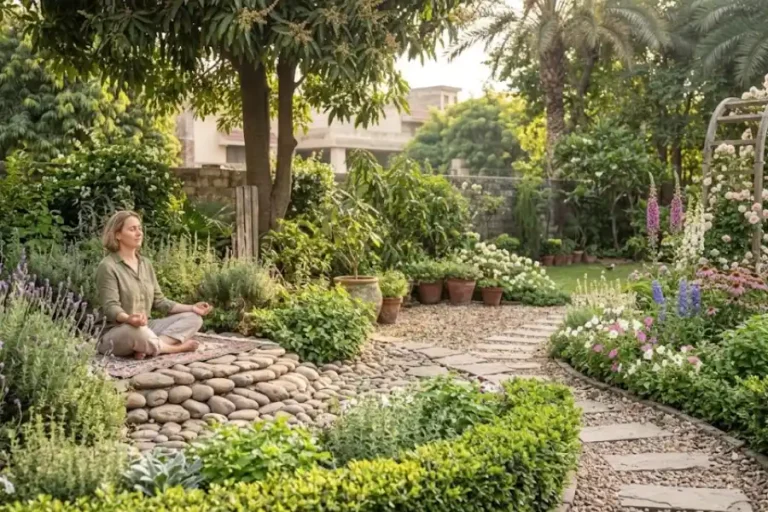
- A quiet spot to relax
- A low-work yard that saves time
Think about how much time you really have. A garden that needs three hours a week will not work if you only have thirty minutes. Many new gardeners ask for an “easy care” garden. Remember that every garden needs some care, especially in the first year while plants settle in.
Step 3: Check Sun, Soil, and Your Climate Zone
This step decides which plants will live and which will struggle. Do not skip it.
Sun: Watch your yard at three times of day: morning, noon, and late afternoon. Mark each spot as full sun (6 or more hours of direct light), part sun (3 to 6 hours), or shade (less than 3 hours).
Soil: Grab a handful of damp soil and squeeze it. If it stays in a tight, sticky ball, it is mostly clay. If it falls apart right away, it is mostly sand. Soil that holds together loosely and crumbles when poked is a good sign. For hard numbers, a basic soil test from your local cooperative extension office will tell you the pH and what nutrients are missing.
Climate zone: Find your zone on the USDA Plant Hardiness Zone Map. It tells you how cold your winters get, which helps you pick plants that survive them.
Step 4: Measure Your Space and Draw a Base Map
Measure the edges of your yard, then measure fixed things like the house, the fence, trees, patios, and any sheds. Draw all of it on graph paper. Let one square equal one foot, or two feet for a big yard.
This drawing is called a base map. Make a few copies. You will draw different ideas on top of each copy, so you can compare layouts without starting over.
Safety tip: If your plan includes digging a big hole for a tree, a pond, or a fence post, call 811 first. It is a free service in the United States that marks buried utility lines. You can learn more at Call 811.
Step 5: Pick a Simple Layout
Now the fun part begins. Divide your yard into zones, like rooms in a house. For example:
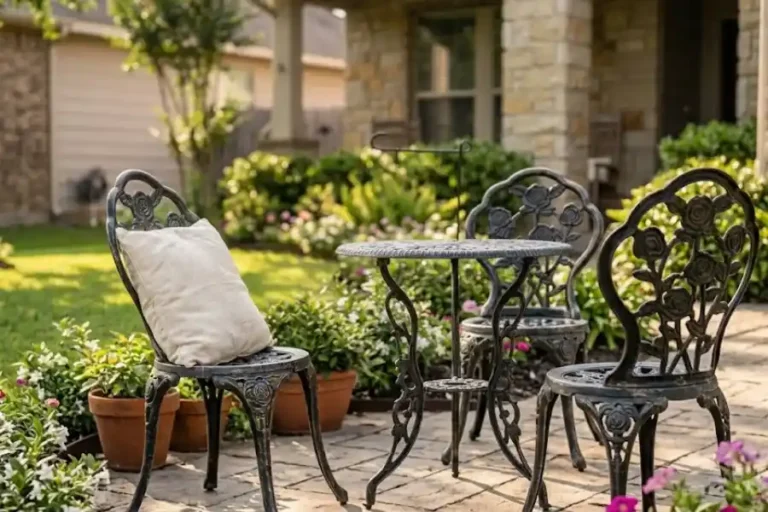
- A seating or dining zone near the house
- A planting zone for flowers, shrubs, or vegetables
- A path or walkway that connects the zones
- A work zone for compost, tools, and storage
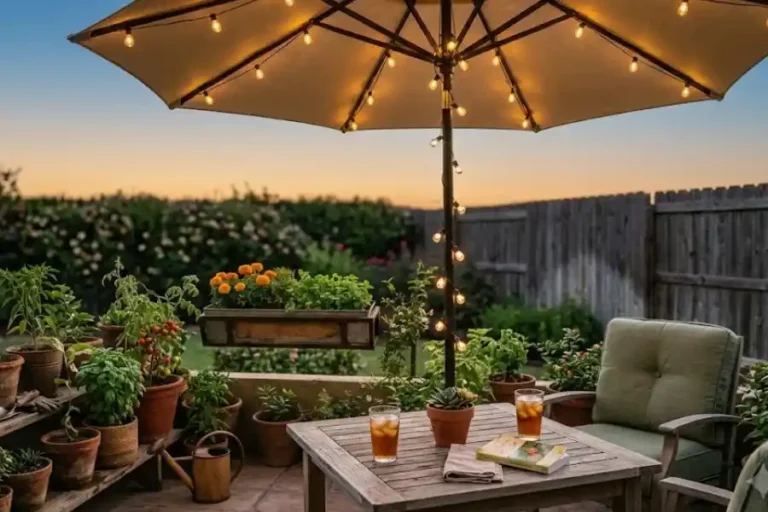
Do not rush the seating zone. Looking at a few ideas for a garden with seating can help you decide how big it should be and where it fits best.
Use your garden hose to lay out curves for beds and paths on the ground. Look at the shape from your windows and from your back door. Move the hose until it looks and feels right. This takes ten minutes and saves you from expensive mistakes.
A good rule: curved lines feel relaxed and natural, while straight lines feel neat and formal. Pick one style and repeat it so the garden feels connected.
Step 6: Choose Plants That Fit Your Site
Pick plants for the conditions you found in Step 3. A plant that loves full sun will struggle in shade, no matter how much you love it. If your yard gets lots of light, this list of full sun plants is a handy place to begin.
Use this easy mix for a balanced garden:
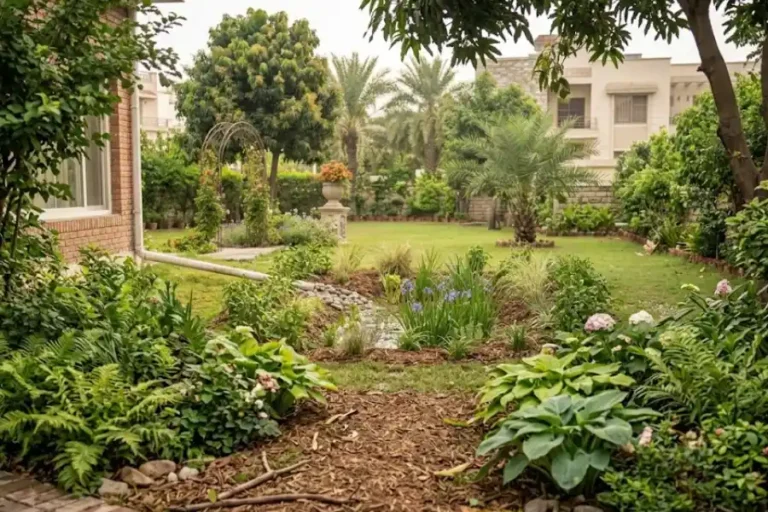
- Big anchors: One or two trees or large shrubs that give height and shade.
- Medium shrubs: These give shape and keep the garden looking full in winter.
- Perennials: Plants that come back every year, like coneflowers and daylilies.
- Ground covers: Low plants that cover soil and keep weeds down.
- Annuals or bulbs: Quick color you can change from year to year.
Plant in groups of three or five of the same kind instead of one of everything. Groups look planned and calm. A mix of single plants can look messy.
Whenever you can, choose native plants. They usually need less water, handle local weather better, and help local bees, birds, and butterflies. Your local extension office can share a list of native plants for your area.
Step 7: Plan Paths, Edges, and Hard Features
Paths make a garden easy to use and easy to enjoy. Keep main paths at least 3 feet wide so two people can walk side by side or you can push a wheelbarrow. Gravel, mulch, stepping stones, and pavers are all good options at different prices.
Clean edges around beds make even a simple garden look sharp. A strip of metal edging, a line of bricks, or a neat trench cut with a spade all work well.
Step 8: Set a Budget and Plan in Phases
One tip many top articles skip: you do not have to build the whole garden at once. In fact, you should not.
Split your plan into phases. For example:
- Phase 1: Paths, edges, and fixing drainage or soil problems.
- Phase 2: Trees and large shrubs.
- Phase 3: Perennials, ground covers, and color.
- Phase 4: Extras like lights, a bird bath, or a seating nook.
This way you spread out the cost, learn what works in your yard, and avoid burnout. If something does not work, you find out early and change it.
Step 9: Plant, Mulch, and Water Well
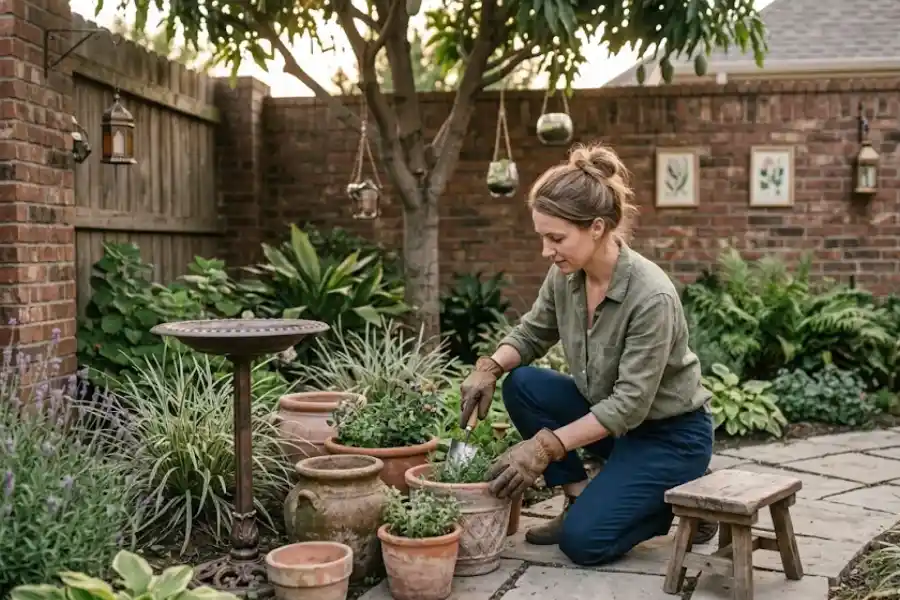
Plant on a cool, cloudy day if you can. Dig a hole about twice as wide as the root ball and the same depth. Set the plant in, fill the hole, and water it slowly so the water soaks in.
Spread two to three inches of mulch around plants, but keep it a few inches away from stems and trunks. Mulch holds in water, blocks weeds, and protects roots. New plants need regular water for the first season while their roots grow strong.
Mistakes to Avoid When You Design Your Own Garden
- Buying plants before planning. Pretty plants at the store are tempting. Make your plan first.
- Ignoring mature size. That tiny shrub may grow 8 feet wide. Read the plant tag and leave room.
- Planting in the wrong light. Sun and shade labels matter more than looks.
- Making beds too small. Narrow strips look thin. Wider beds look full and are easier to care for.
- Using too many styles. Pick a simple look and stick with it.
- Forgetting winter. Add a few plants that look good in cold months, like evergreens or grasses.
- Trying to do everything in one weekend. Good gardens are built in stages.
Free and Low-Cost Tools to Help You
You do not need to be good at drawing. Easy options include:
- Graph paper and tracing paper: Lay tracing paper over your base map to test ideas fast.
- Free garden planner apps: Many let you drag and drop beds, paths, and plants onto a simple map.
- Your phone camera: Print a photo of your yard and sketch ideas right on top of it.
- AI garden design apps: Some let you upload a photo and try different styles. They are good for ideas, but they do not know your soil or climate, so always double-check the plants they suggest.
- Your local library and extension office: Both often offer free books, classes, and plant lists.
When Should I Hire a Professional Instead?
Doing it yourself is great for most gardens. A pro can still be worth the money in a few cases:
- You have a steep slope, bad drainage, or large retaining walls to build.
- You want a pool, deck, or large patio.
- You feel stuck and cannot decide on a layout.
You can also meet in the middle. Many designers offer a one-time paid consultation or a simple plan on paper. You then plant and build it yourself and save a lot of money.
Frequently Asked Questions
Can I design my own garden for free?
Yes. A tape measure, a pencil, and some paper are enough to make a full plan. Free apps, library books, and extension office advice cover the rest. Your main costs will be plants and materials, and phasing your project keeps them low.
Where do I start if I want to design my own garden from scratch?
Start by observing. Spend a few days noticing sun, shade, soil, and water. Then decide what you want the space to do. Only after that should you draw a map and choose plants.
How long does it take to design a garden?
A simple plan can take a weekend. Planning a larger yard may take a few weeks, especially if you watch the sun through different times of day. Building and planting usually takes longer than planning, and a garden keeps growing for years.
What is the easiest garden style for beginners?
A mixed border with a few shrubs, groups of perennials, and a mulch path is a great first project. A raised vegetable bed is another beginner-friendly choice because you control the soil and it is easy to reach. If you want to try one, this 4×8 raised garden bed planting layout is an easy one to copy.
Do I need a plan, or can I just plant as I go?
You can plant as you go, but a basic plan saves time and money. Even a rough sketch helps you avoid crowding, wrong-light spots, and plants you later have to move.
How much does it cost to design and plant a small garden?
It depends on your area, your plant choices, and what hard features you add. Paths, edging, and big trees cost the most. Small plants, seeds, and divisions from friends cost the least. Set a number before you shop and work in phases.
Final Thoughts
So, can you design your own garden? Absolutely. Start by learning your space, set simple goals, and draw a clear plan. Choose plants that match your sun, soil, and zone. Build in phases, and give yourself room to learn.
Your first garden will not be perfect, and that is fine. The best gardens are shaped over time by the people who care for them. Grab your tape measure and take the first step today.